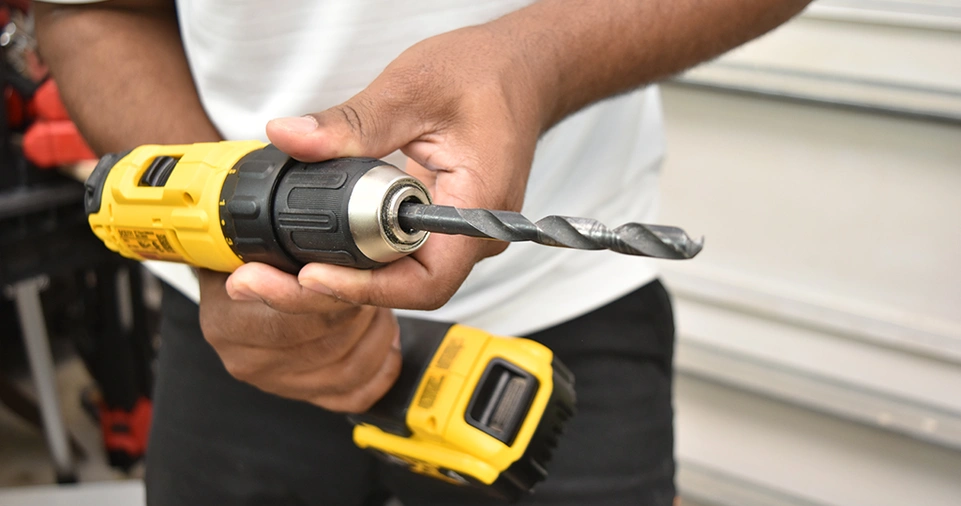
A power drill is one of the most versatile and essential tools in any DIY enthusiast’s or professional contractor’s arsenal.
Whether you’re assembling furniture, drilling holes for wall mounts, or working on a home improvement project, mastering the basics of using a drill is crucial for efficiency and safety.
This comprehensive guide will take you through the fundamentals of using a drill, the types of drills available, safety precautions, step-by-step instructions, troubleshooting tips, and additional pro strategies to enhance your drilling skills. By the end, you’ll be equipped with everything you need to handle a drill like a pro.
Types of Drills and Their Applications
Before you start drilling, it’s essential to understand the different types of drills available and their specific applications.
| Drill Type | Description | Best Used For |
|---|---|---|
| Cordless Drill | Battery-powered, portable, and versatile | General home projects, assembling furniture, quick repairs |
| Corded Drill | Requires a power outlet, offers continuous power | Heavy-duty drilling, prolonged use, industrial applications |
| Hammer Drill | Uses a hammering motion for tough surfaces | Concrete, brick, masonry |
| Impact Driver | Provides high torque for fastening screws | Driving screws into tough materials, construction work |
| Drill Press | Fixed drill mounted on a stand or table | Precision drilling, woodworking, metalworking |
| Right-Angle Drill | Has a compact, angled head for tight spaces | Electrical work, plumbing, cabinetry |
Choosing the Right Drill for Your Project
Selecting the appropriate drill depends on the type of work you plan to do. If you frequently drill into hard surfaces like concrete, a hammer drill is ideal.
For general household use, a cordless drill provides convenience and portability. If you require precision, a drill press is the best choice.
Essential Drill Components and Features
Understanding the main parts of a drill will help you operate it efficiently:
- Chuck – Holds the drill bit securely; keyless chucks allow quick bit changes.
- Trigger – Controls the speed; applying more pressure increases the speed.
- Torque Adjustment Ring – Sets the torque level for different materials.
- Forward/Reverse Switch – Changes the drill direction for inserting or removing screws.
- Battery (for cordless drills) – Provides power for portability and ease of use.
- Auxiliary Handle (for hammer drills) – Provides additional control for tough drilling tasks.
- Depth Stop – Prevents drilling deeper than necessary.
Safety Precautions Before Using a Drill
Using a drill improperly can lead to injuries or damage. Follow these essential safety tips:
- Wear Safety Gear – Use safety goggles, gloves, and a dust mask to protect yourself.
- Secure Your Workpiece – Use clamps or a vice to hold materials in place.
- Check the Drill Bit – Ensure the bit is correctly inserted and tightened.
- Start with a Pilot Hole – Drilling a small pilot hole helps guide the main drill bit.
- Use the Right Speed – Adjust the speed based on the material; higher speeds work best for softer materials, while lower speeds are suitable for metals and hardwoods.
- Avoid Loose Clothing – Loose garments can get caught in the drill, causing injuries.
- Keep Hands Away from the Bit – Always grip the drill handle firmly.
- Use Proper Lighting – Poor visibility can lead to mistakes and accidents.
- Work in a Well-Ventilated Area – This is especially important when drilling materials that create fine dust.
Step-by-Step Guide to Using a Drill

Step 1: Choose the Right Drill Bit
Different materials require different drill bits. Here’s a quick guide:
| Material | Recommended Drill Bit |
|---|---|
| Wood | Brad-point drill bit |
| Metal | High-speed steel (HSS) bit |
| Concrete/Brick | Masonry bit |
| Plastic | Twist bit |
| Glass/Ceramic | Diamond or carbide-tipped bit |
Step 2: Insert and Secure the Bit
- Open the chuck by turning it counterclockwise.
- Insert the drill bit and tighten the chuck securely.
- If using a keyed chuck, use the chuck key to tighten it firmly.
Step 3: Adjust the Drill Settings
- Set the torque level according to the material.
- Select the appropriate speed setting; higher speeds for softwood, lower speeds for hard materials.
- Switch the drill to forward mode if inserting a screw or drilling a hole.
- If drilling into concrete, activate the hammer mode if available.
Step 4: Position and Drill
- Mark the spot where you want to drill.
- Hold the drill perpendicular to the surface.
- Apply light pressure and start drilling at a slow speed.
- Gradually increase the speed while maintaining steady pressure.
- If drilling deep, periodically pull the drill bit out to clear debris.
Step 5: Remove the Drill Bit
- Once the hole is complete, reduce the speed and gently pull the drill out.
- Switch to reverse mode if removing a screw.
- Use compressed air or a vacuum to remove dust from the hole.
Troubleshooting Common Drilling Issues
| Issue | Possible Cause | Solution |
|---|---|---|
| Drill bit slipping | Chuck not tightened properly | Retighten the chuck securely |
| Drill overheating | Excessive friction, high speed | Reduce speed, apply lubrication |
| Hole misalignment | Lack of precision | Use a center punch to mark the exact drilling spot |
| Bit dulling too quickly | Using the wrong bit for material | Select the appropriate drill bit |
| Material chipping | Too much pressure or speed | Use a backing board, slow down the speed |
Pro Tips for Efficient Drilling
- Use a depth stop – Prevents drilling too deep into the material.
- Lubricate metal drill bits – Reduces heat and prolongs bit life.
- Use painter’s tape – Placing tape over the drilling area helps prevent wood splintering.
- Keep bits sharp – Dull bits can overheat and damage materials.
- Mark drill depth – Wrap a piece of tape around the bit at the desired depth.
- Use a guide for straight drilling – A drilling jig can help maintain accuracy.
Maintenance and Storage of Your Drill

To ensure your drill lasts long and operates efficiently, follow these maintenance tips:
- Clean the drill bit after each use to remove debris and dust.
- Store in a dry place to prevent rust and electrical damage.
- Regularly check the battery (for cordless drills) and recharge it when needed.
- Lubricate moving parts to keep the drill running smoothly.
- Inspect the power cord (for corded drills) for any wear and tear.
- Replace worn-out bits to ensure optimal performance.
- Keep the air vents clean to prevent overheating.
ALSO READ: How to Use AI Tools to Streamline Your Blogging Process?
Conclusion
Mastering the basics of using a drill is an essential skill for DIY enthusiasts and professionals alike.
By understanding the types of drills, selecting the right drill bits, and following proper safety precautions, you can efficiently and safely complete various projects.
With the right techniques, practice, and maintenance, your drill will become one of your most valuable tools, allowing you to tackle a wide range of home improvement and construction projects with confidence.


